Ideas and Lessons
Simple Photography Lesson: How a Camera Exposes for Light
Introduction: Light is the Key!
• Explain: A camera works like our eyes – it needs the right amount of light to see properly.
• Too much light = a bright (overexposed) photo.
• Too little light = a dark (underexposed) photo.
• Cameras control light using three settings:
1. Aperture (the eye’s pupil) – Controls how much light comes in.
2. Shutter Speed (blinking your eyes) – Controls how long light enters.
3. ISO (night vision goggles) – Controls how sensitive the camera is to light.
Activity: “Your Eye is a Camera!”
• Aperture: Open your eyes wide in a dark room (big aperture = more light) and squint in bright sunlight (small aperture = less light).
• Shutter Speed: Blink fast vs. keeping your eyes closed longer—just like a fast or slow shutter speed!
• ISO: Imagine wearing sunglasses (low ISO) vs. using night vision goggles (high ISO).
Hands-on Experiment: “Balancing Light”
• Give the students cameras with manual mode.
• Have them take:
• One photo with a wide aperture (low f-stop, e.g., f/2.8) and one with a small aperture (high f-stop, e.g., f/11) – Notice the difference!
• One photo with a fast shutter speed (1/1000s) and one with a slow shutter speed (1/10s) – What happens?
• One photo with low ISO (100) and one with high ISO (1600+) – Look at the brightness and grain!
What Did We Learn?
• Light needs to be balanced using the aperture, shutter speed, and ISO.
• The best settings depend on the scene:
• Bright day? Use a small aperture, fast shutter, and low ISO.
• Dark room? Use a wide aperture, a slow shutter, and high ISO.
• Photography is all about experimenting!


Perspectives in Photography
Ask: “What does ‘perspective’ mean?”
Show examples of different photos of the same subject taken from different angles, distances, and viewpoints.
Discuss how everyone sees things differently based on where they stand and how they feel.
Activity / Group Challenge
Give each student a simple object ( basketball hoop )
Each student takes a photo of it from their perspective. ( Note: The students do not watch each other taking the image.)
Compare the results and discuss how each perspective changes the way we see the object.
Key Takeaways:
Perspective changes how we see things.
No two people see the world the same way.
Creativity comes from looking at things differently.
Textures in Our World
Ask: “What do we mean by ‘texture’?”
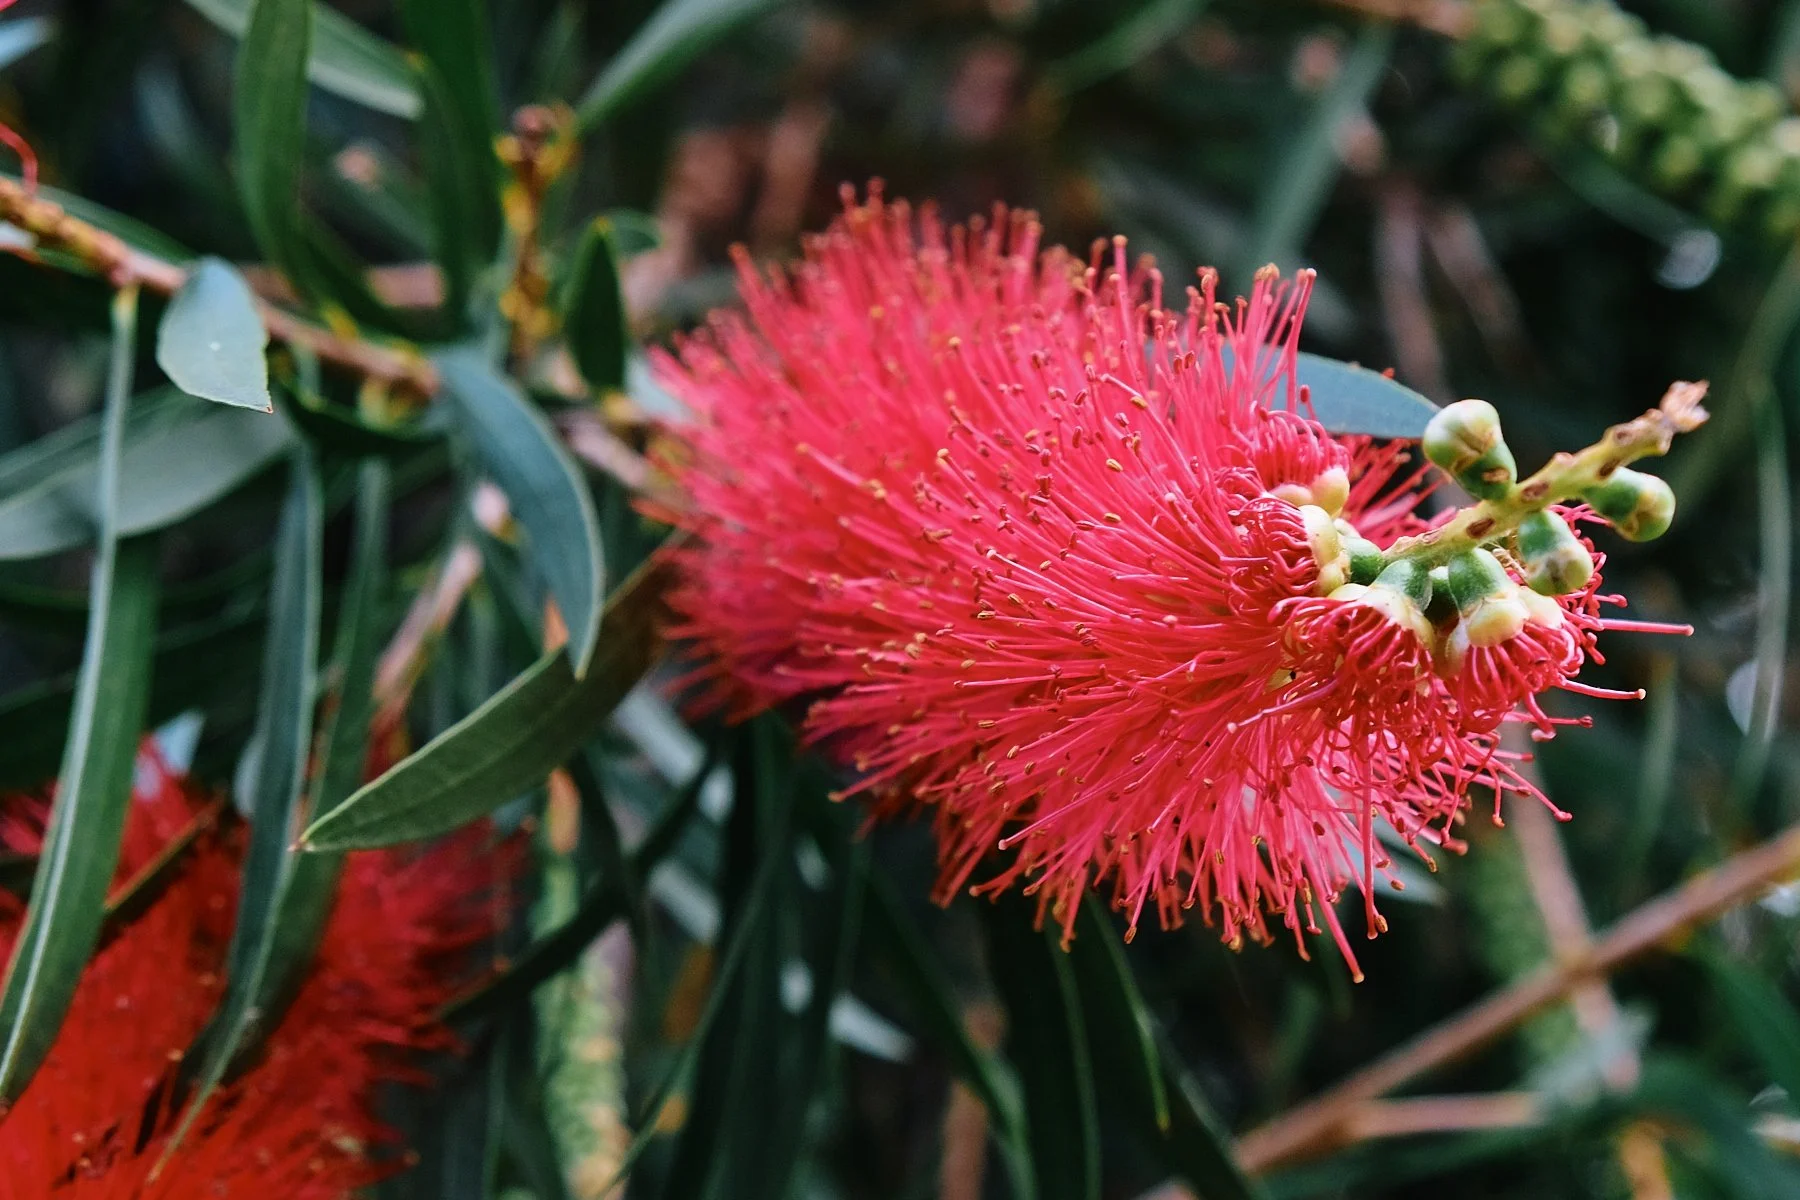
Show close-up photos of rough tree bark, leaves, rocks, etc..
Explain that textures help us feel a photo, even though we can’t touch it.
Activity / Group Challenge
Challenge kids to find and photograph 5 different textures in the environment.
Encourage them to get close to their subject and focus on details.
Something rough (e.g., tree bark), smooth, soft, shiny, etc.
Each student picks their favourite texture photo and explains why they chose it. (DLF will print for their portfolio).
Key Takeaways:
Textures add depth and interest to photos.
Light and angles change how we see texture.
The smallest details can make a big difference in photography.
Portraits – Capturing Each Other’s Expressions
Show students how to take expressive and creative portraits of each other, exploring emotions, composition, and natural light in photography.
Ask: “What is a portrait?”
Show examples of different portrait styles (happy, serious, candid, posed, close-up, from a distance).
Activity / Group Challenge
Pair kids up and have them take turns photographing each other.
Encourage different angles:
Challenge them to capture two different emotions (happy, excited, thoughtful, etc.).
Each student picks their favourite portrait photo and explains why they chose it. (DLF will print for their portfolio).
Key Takeaways:
A good portrait captures emotion and personality.
Light, angles, and background affect the portrait’s mood.
Communication helps bring out natural expressions.
High School Students: Encourage students to step out of their comfort zones by photographing a stranger (with their permission). As part of the challenge, they must engage in a brief conversation and learn one interesting fact about their subject. This exercise helps develop communication skills, builds confidence, and adds a storytelling element to their portraits.


Framing & The Rule of Thirds
Objective: Teach students how to improve composition using framing techniques and the Rule of Thirds to create balanced, engaging images.
Introduction: How to Frame a Great Photo
Ask: “What makes a photo look good?”
Show examples of cluttered vs. well-composed images.
Introduce two key composition techniques:
Framing – Using objects (windows, trees, doorways) to naturally “frame” a subject.
The Rule of Thirds – Placing the subject off-center for a more interesting image.
Activity / Group Challenge
“Find a Natural Frame”
Challenge students to find objects in the environment to frame their subject (e.g., looking through tree branches, a window, or hands forming a shape).
Encourage different perspectives (high, low, close-up).
Discuss how framing draws the viewer’s eye to the subject.
Experiment: “Rule of Thirds Grid” (20 minutes)
Explain the Rule of Thirds:
Imagine the photo is divided into nine equal squares (like a tic-tac-toe grid).
Place the subject at the intersections of the lines instead of the center.
Have students:
Take one photo with the subject in the center.
Take another using the Rule of Thirds.
Compare: Which looks more interesting? Why?
Group Sharing & Reflection (15 minutes)
Each student picks their best-framed or Rule of Thirds photo.
Discuss:
“What makes this photo work?”
“How does framing or positioning change the feel of an image?”
Reinforce that composition helps tell a stronger story in photography.
Key Takeaways:
Framing draws attention to your subject.
The Rule of Thirds creates balance and interest.
Small composition changes can make a big difference!
Exploring Colour
Objective: Show students how colour impacts photography, exploring how different colours create mood, contrast, and storytelling in images.
Introduction: The Power of Colour
Ask: “How do colours make us feel?”
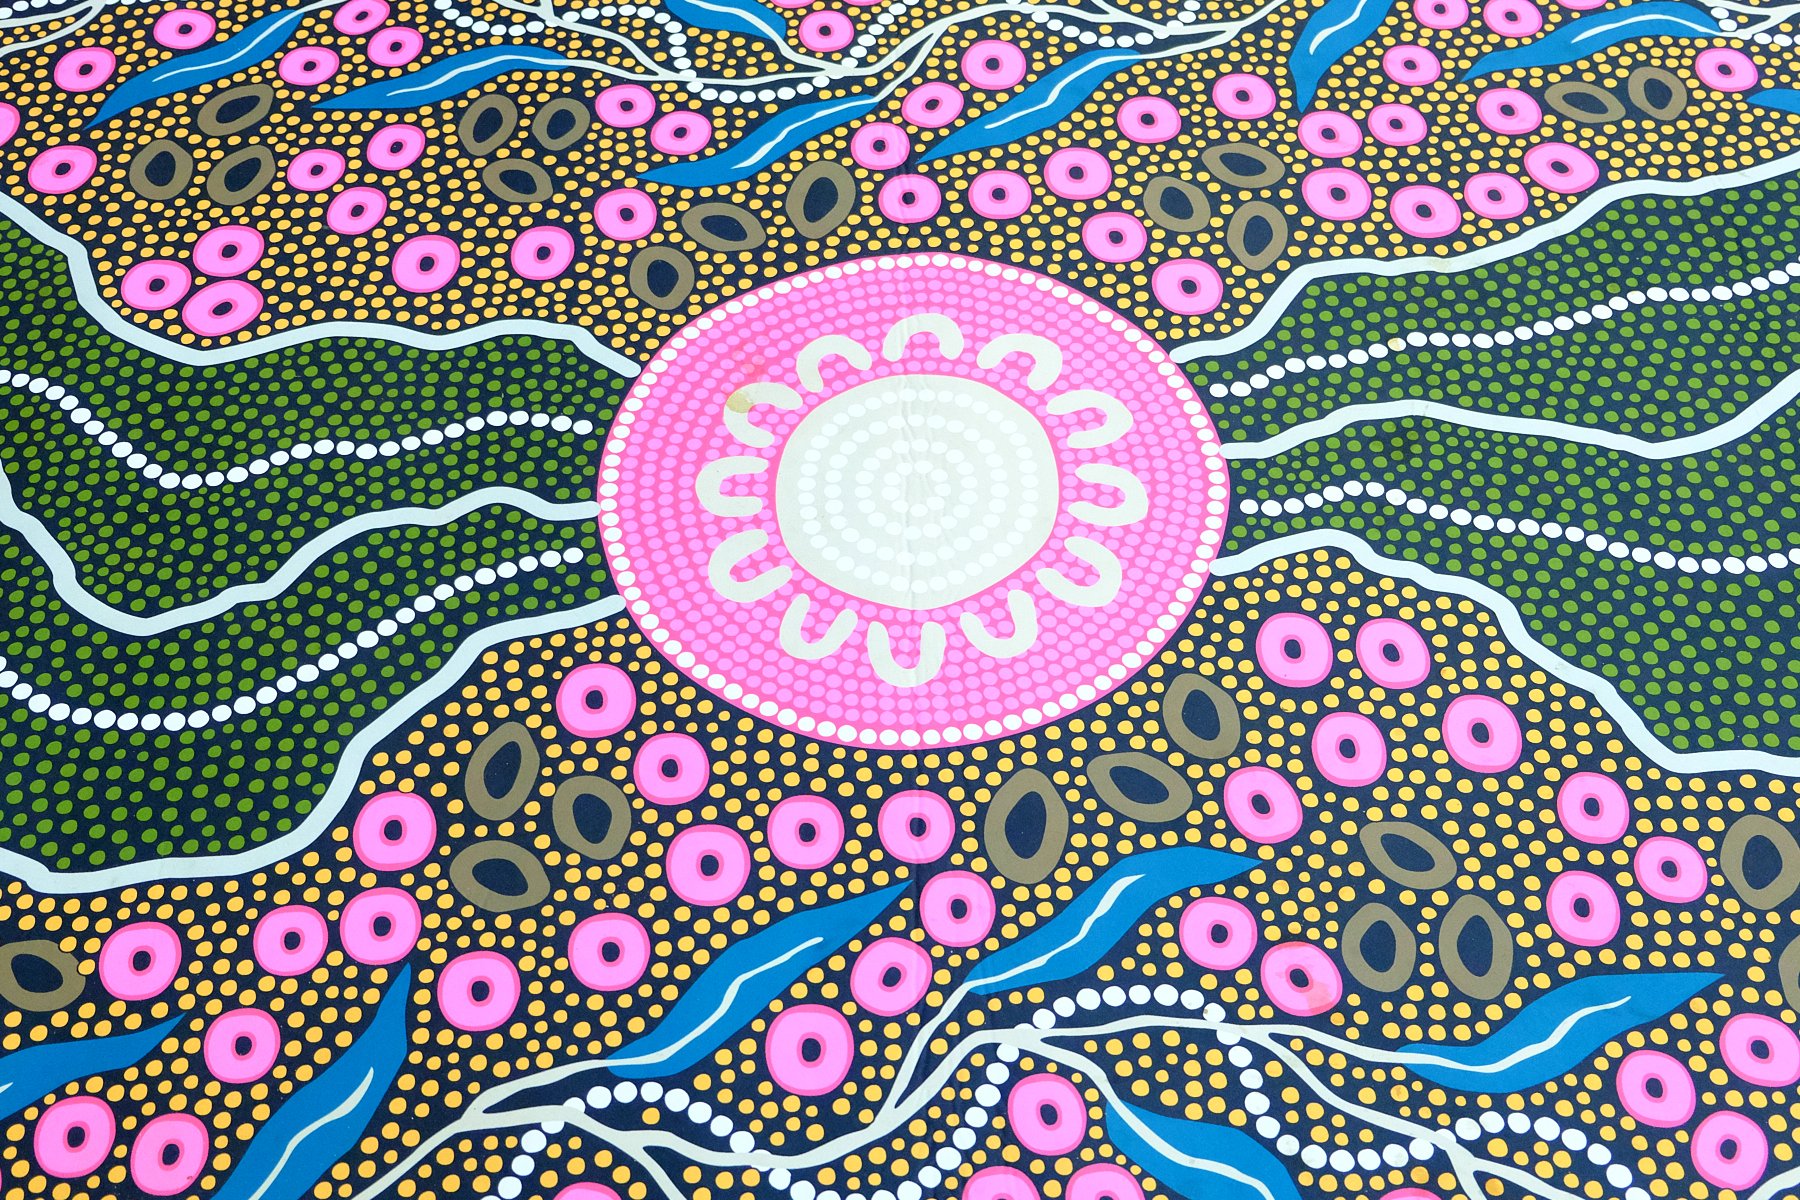
Show images with different dominant colours (e.g., blue ocean vs. red sunset vs. green forest).
Discuss:
Warm Colours (Red, Orange, Yellow) – Energetic, happy, exciting.
Cool Colours (Blue, Green, Purple) – Calm, peaceful, sad.
Neutral Colours (Black, White, Grey, Brown) – Timeless, balanced.
Activity / Group Challenge
Challenge students to take five photos, each focusing on a different colour.
They can find objects, clothing, or backgrounds that emphasize each colour.
Encourage creativity—angles, lighting, and composition matter!
Key Takeaways:
Colours affect how we feel about a photo.
Bright colours stand out, soft colours blend in.
Contrast and harmony create different visual effects.
Portraits – Capturing Each Other’s Expressions
Show students how to take expressive and creative portraits of each other, exploring emotions, composition, and natural light in photography.
Ask: “What is a portrait?”
Show examples of different portrait styles (happy, serious, candid, posed, close-up, from a distance).
Activity / Group Challenge
Pair kids up and have them take turns photographing each other.
Encourage different angles:
Challenge them to capture two different emotions (happy, excited, thoughtful, etc.).
Each student picks their favourite portrait photo and explains why they chose it. (DLF will print for their portfolio).
Key Takeaways:
A good portrait captures emotion and personality.
Light, angles, and background affect the portrait’s mood.
Communication helps bring out natural expressions.
High School Students: Encourage students to step out of their comfort zones by photographing a stranger (with their permission). As part of the challenge, they must engage in a brief conversation and learn one interesting fact about their subject. This exercise helps develop communication skills, builds confidence, and adds a storytelling element to their portraits.